Building the front wall
The front wall incorporates two timber sash windows and the patio doors. Since the door frame was almost the entire height of the wall I chose to make two side sections for each window then secure them to the door frame.
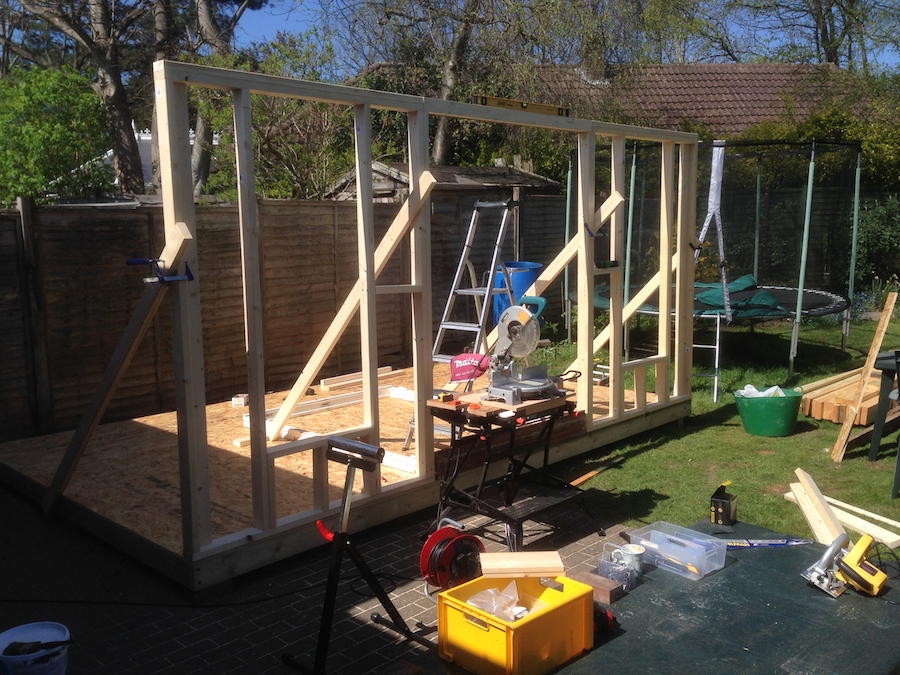
The stud walls were constructed using strength graded CLS (‘Canadian Lumber Stock’) which is light and easy to handle - finished size 39x89. I was planning to use the same insulation panels between the studs as I used for the floor. These panels were 450mm wide so where possible I spaced vertical studs to accommodate these.
Each section of stud wall was secured to the floor deck with suitable screws. This photo shows the first section in place with a brace to keep it vertical. It also shows the power saw I bought from Gumtree for this project - essential when there are lots of straight and angle cuts. I made a base so I could mount the saw at a more comfortable working height with a separate roller support for long lengths of timber.

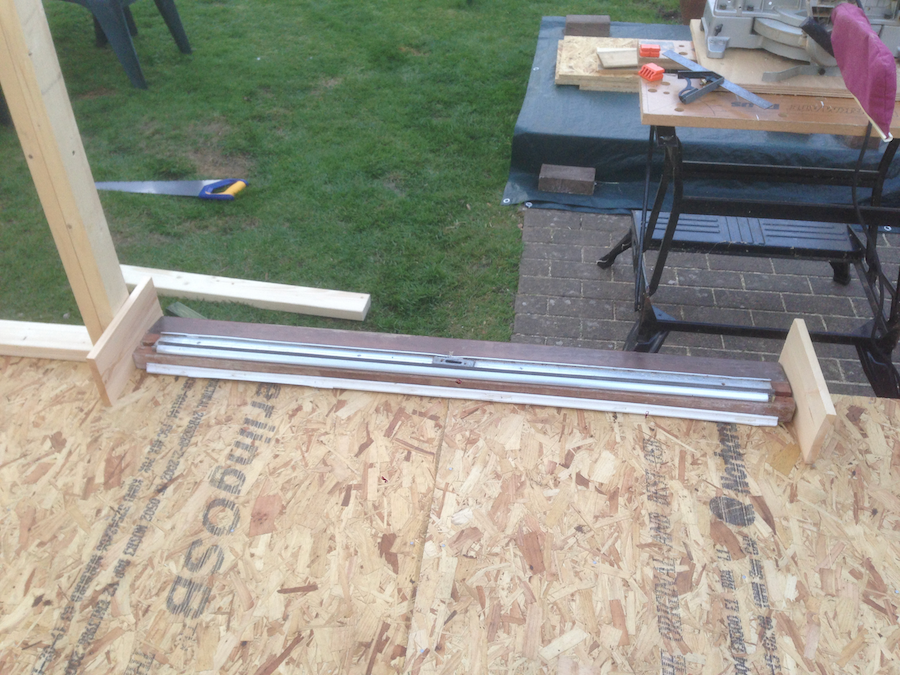
The spaces for windows and doors had to be oversized so they could be lined with timber board. This was to ensure the final cladding could butt up against a neat edge rather than being exposed.
In this photo you can see the door lining and threshold being marked out on the base.
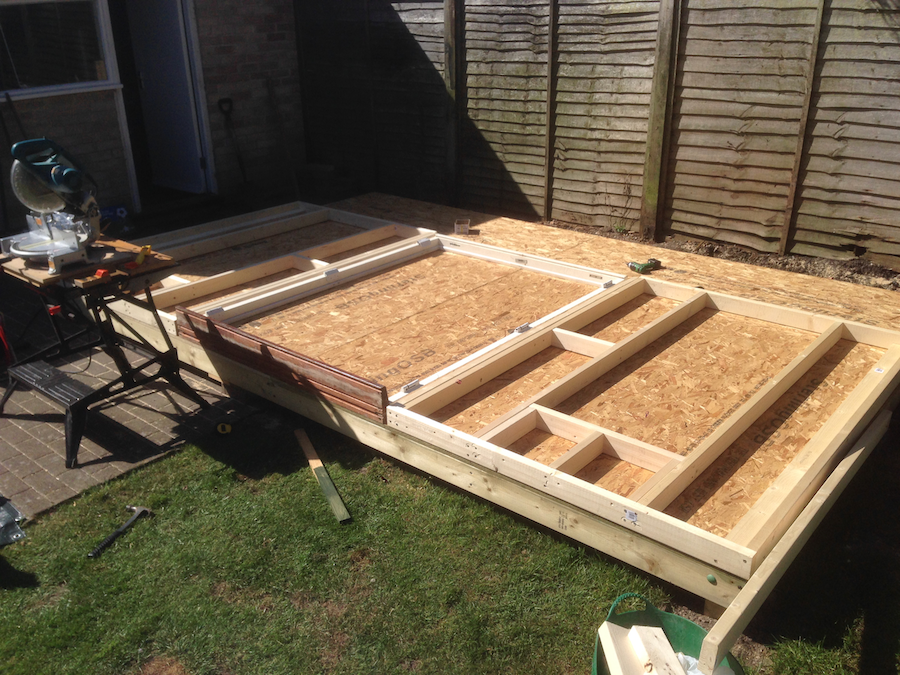
With the layout completed I made another section of stud wall for the other window and laid it all out on the floor.
Here’s the finished front wall assembled and upright, ready for remaining walls. Note the beam added above the opening for the door to secure the two side sections together and provide support for the rafters.