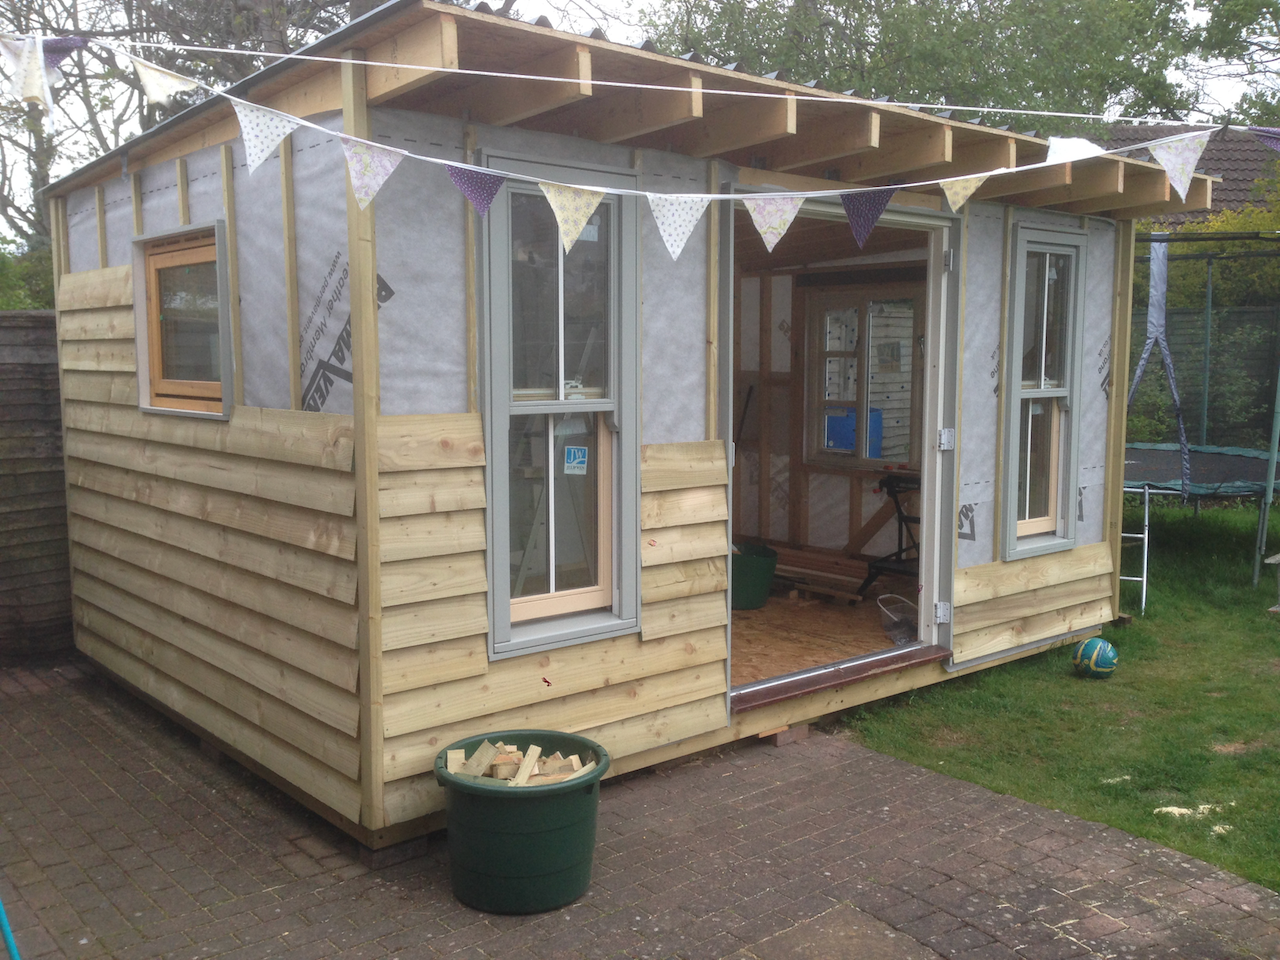
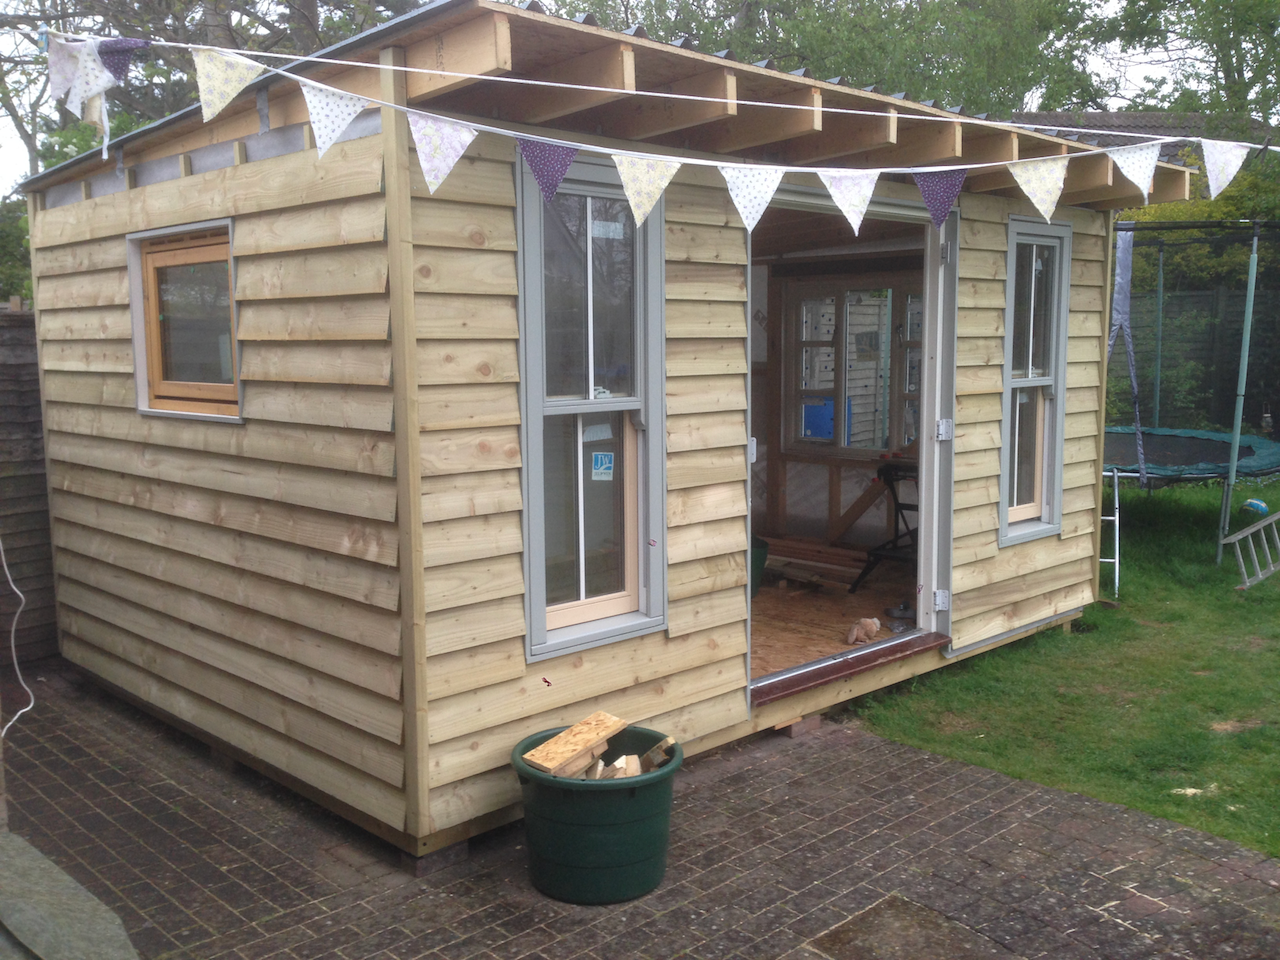
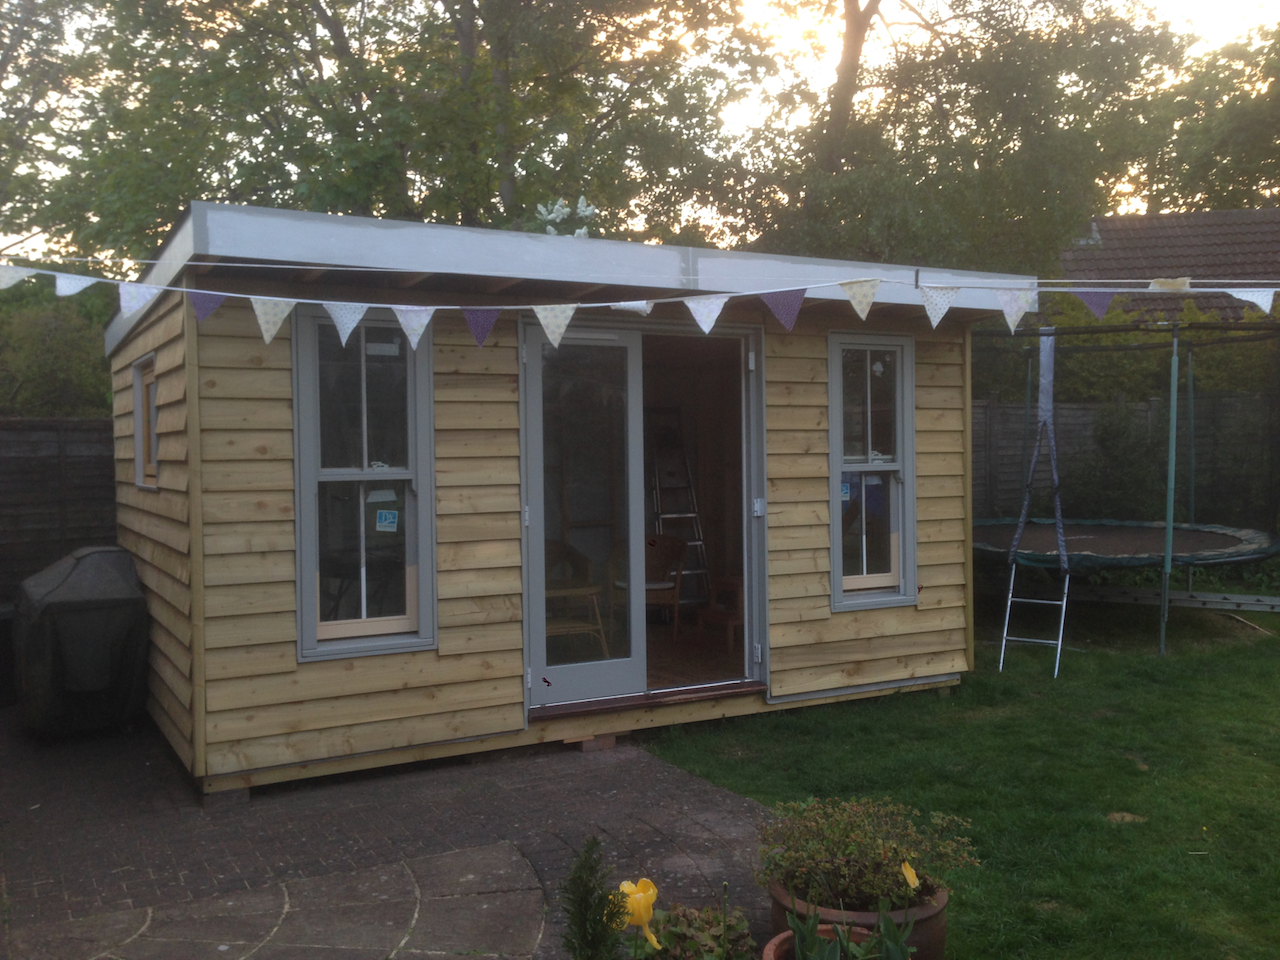
Exterior walls
I chose pressure-treated featheredge timber board for the exterior walls - relatively cheap and can be left unpainted or treated as required.
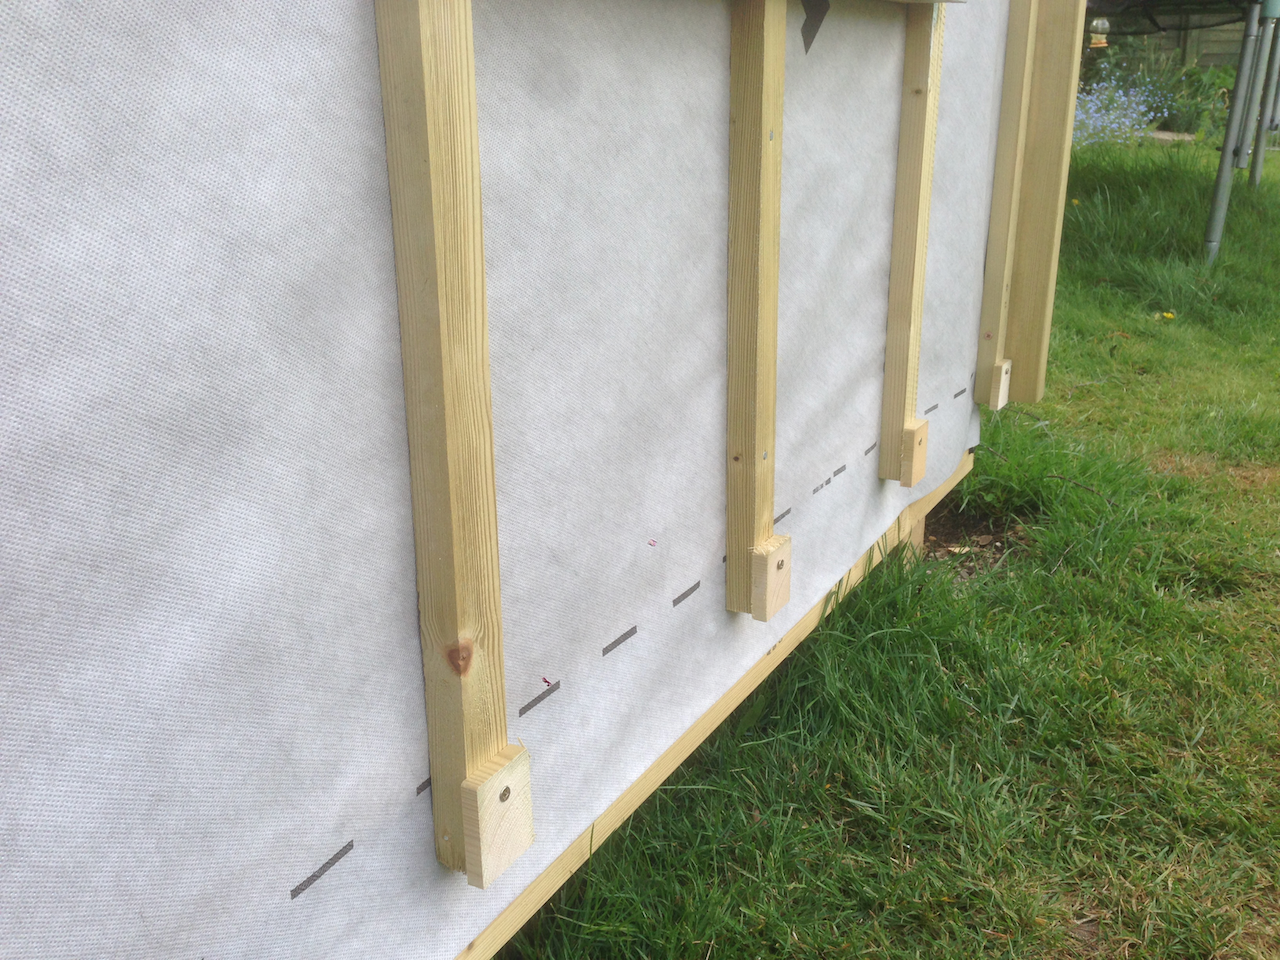
Timber battens
Vertical battens were fitted to each stud to provide an air gap behind the boards. This allows air to circulate behind the boards and means the breathable membrane can work effectively:
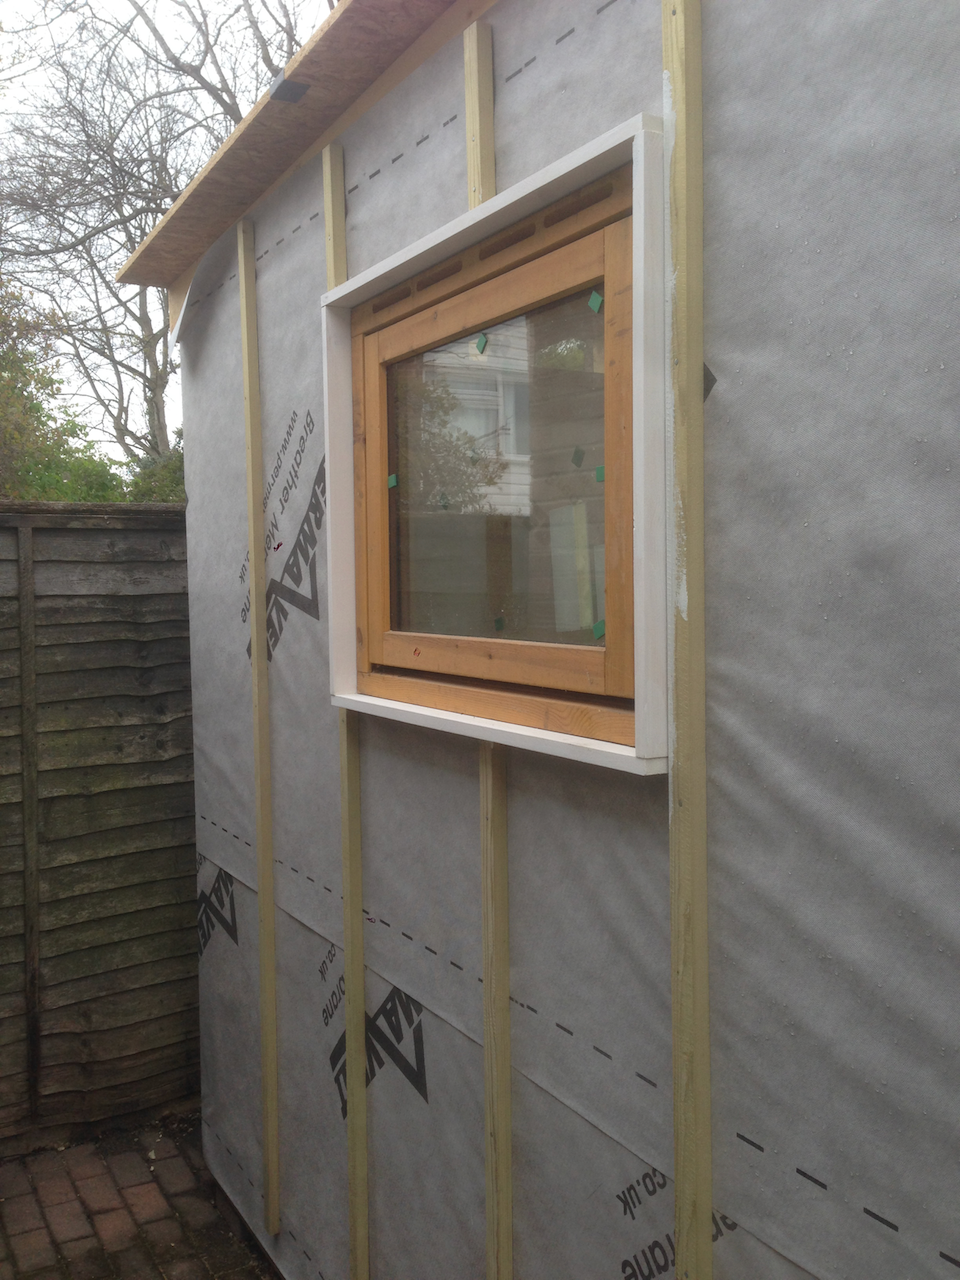
Corner posts
Additional posts were needed at each exterior corner to provide a flush edge for the timber boards. Since these posts are visible I used smooth planed pressure-treated wood:

Boarding school
Featheredge is installed starting at the bottom. Spacers are needed for the first board to ensure it sits at the right angle:
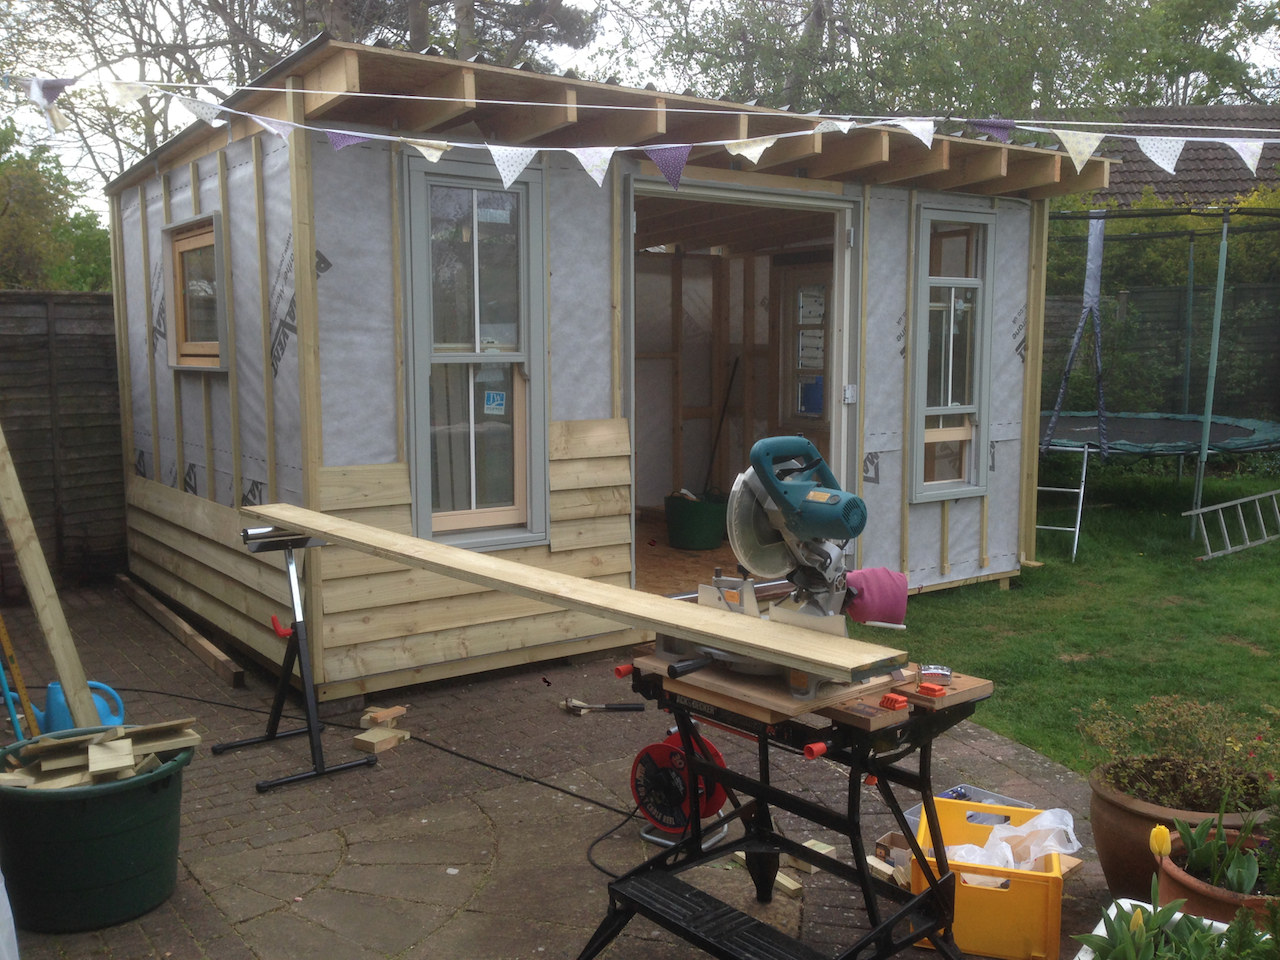
Lots of cutting was required for the front wall so I made very good use of my power saw:
To ensure the boards were spaced correctly and consistently I tacked them in place first. Once I was happy with the spacing I made a simple guide using timber offcuts.
This photo shows the timber boarding in progress. Note how the timber linings and corner posts cover the cut ends of the timber boards:
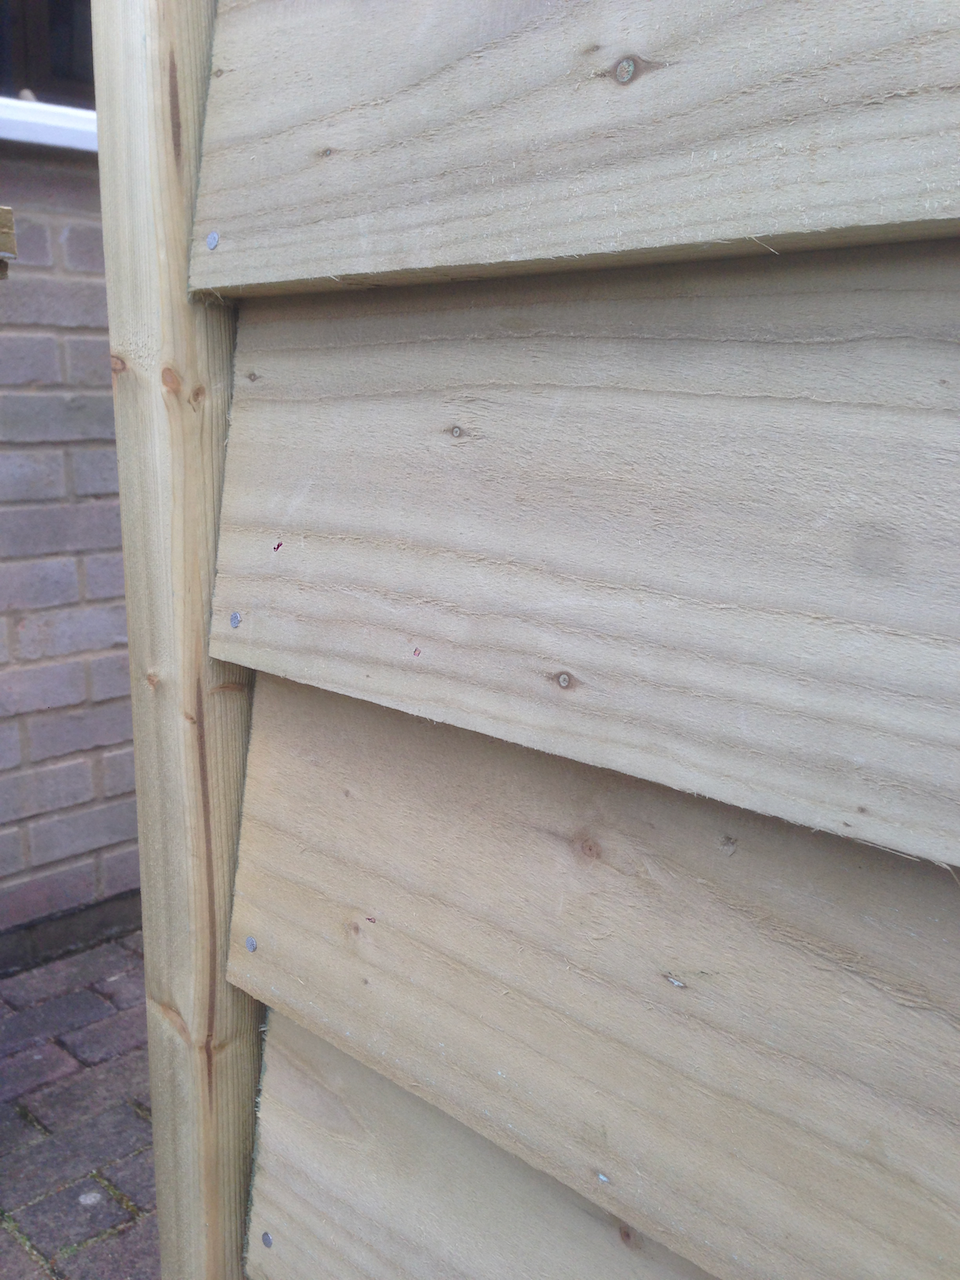
Close-up showing corner post detail:
Nearing completion - just the top board on the side wall to install:
The final step to finish the exterior was fitting timber fascia boards all around:
After four years, the sealant between the front fascia board and the roof sheets has proven to be a weak point, allowing water to penetrate into the roof deck. I removed the front fascia recently to allow the roof deck to dry out and design a better solution:
